[프로젝트] 회원정보 조회 및 수정 시 리액트 쿼리 사용하기 !
지난 포스트에서는 리액트 쿼리에 대해 작성해보았고 오늘은 실제로 진행중인 프로젝트에 적용한 내용에 대해 작성할 것이다 !
왜 리액트 쿼리를 사용했는가 ?
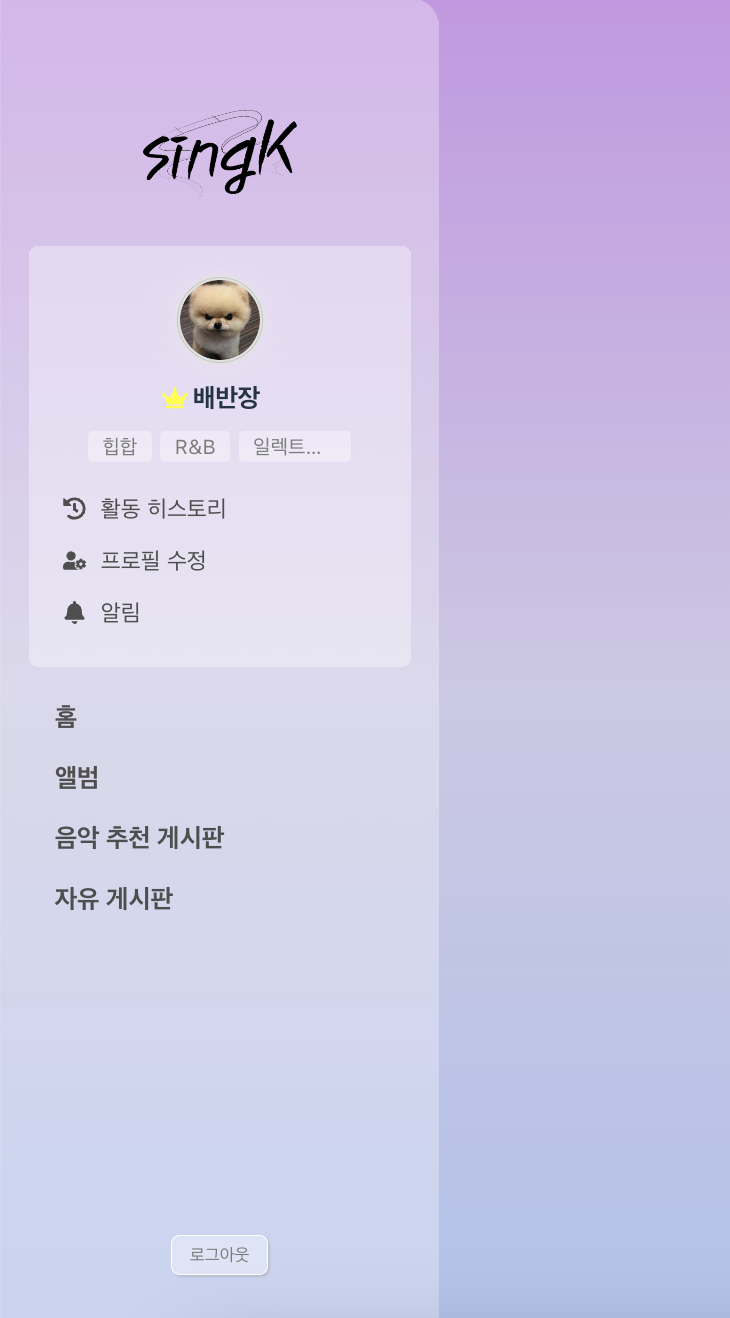
현재 메인 화면에 진입했을 때 MainLayout.tsx 에 존재하는 네비게이션 바에서 회원 정보를 넘겨주어 네비게이션 바에서 회원 정보를 렌더링 하는 형식으로 코드를 작성했었다.
리액트 쿼리 적용 전 회원 조회 코드 MainLayout.tsx
const { data, callApi, statusCode } = useApi();
  useEffect(() => {
    const fetchData = async () => {
      const token = localStorage.getItem("accessToken");
      const headers = token ? { Authorization: `Bearer ${token}` } : {};
      if (token) {
        await callApi("/api/members/me", "get", {
          headers,
        });
      }
    };
    fetchData();
  }, []);
  if (data) {
    console.log(data);
( useApi는 api 호출을 위해 만들어놓은 커스텀 훅이고 MainLayout.tsx 폴더에서 위와 같이 useEffect 를 사용하여 회원 정보를 조회 했었다. )
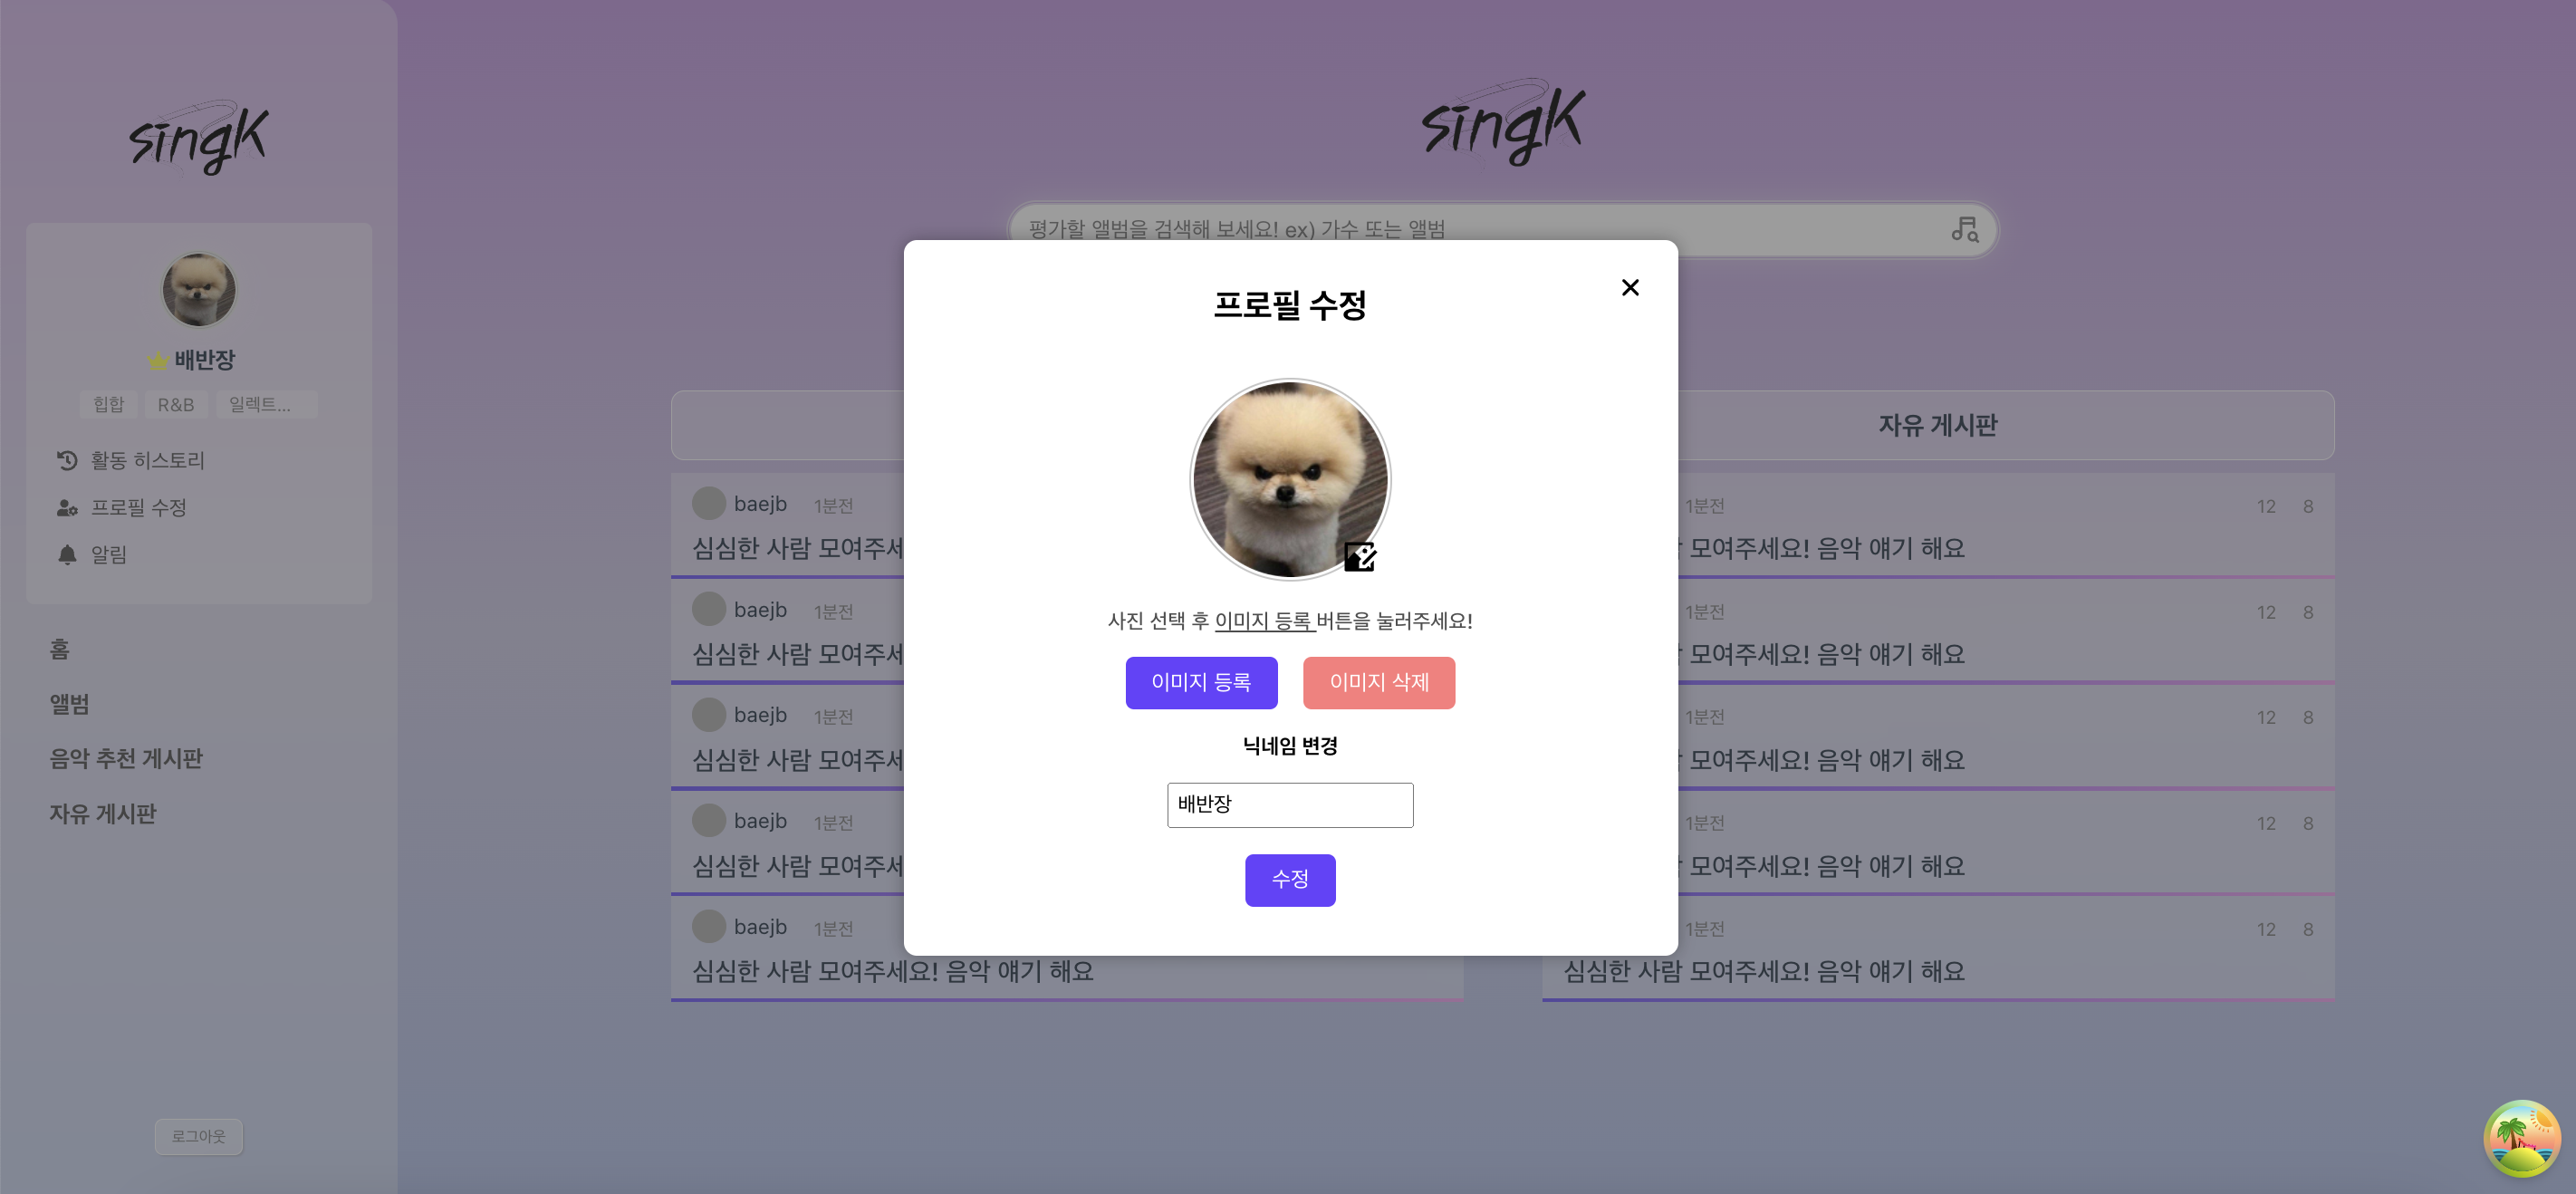
하지만 회원 정보 수정 및 이미지 추가, 삭제를 구현하게 되면서 회원 정보 수정을 모달로 구현하게 되었는데 정보를 수정했는데 뒤에 있는 모달에 뜬 정보를 변경할수가 없었다. 왜냐하면 현재 회원 조회는 MainLayout 컴포넌트가 렌더링 되었을 때 회원 정보를 조회하게 구현되어 있는데 모달창에서 회원 정보의 변경이 발생하기 때문에 변경된 회원정보를 보기 위해선 다시 컴포넌트를 렌더링 해야하는 상황이 발생했다.. ! (새로고침을 하던지 .. )
따라서 리액트 쿼리를 사용하면 서버에 있는 데이터를 최신화 할 수 있으니 모달창을 띄워둔채로 회원 정보 데이터가 변경되게 리액트 쿼리를 사용해 리팩토링을 진행하였다. (useMutation을 사용해 변경시 다시 조회하도록 ..! )
리액트 쿼리 적용 후 MainLayout.tsx
const { isLoading, isError, data } = useMemberInfoQuery();
useMemberInfoQuery.ts
// 유저 관련 데이터 get 요청 쿼리를 저장
import { useQuery } from "@tanstack/react-query";
import client from "../../../config/axios";

const fetchMemberInfo = async () => {
  const token = localStorage.getItem("accessToken");
  const headers = token ? { Authorization: `Bearer ${token}` } : {};
  const response = await client.get("/api/members/me", { headers });
  return response.data.data;
};

export const useMemberInfoQuery = () => {
  const { isLoading, isError, data, error } = useQuery({
    queryKey: ["memberInfo"],
    queryFn: fetchMemberInfo,
  });

  return { isLoading, isError, data, error };
};
useQuery를 사용해 queryKey 값으로 memberInfo 로 설정해주고 queryFn으로 회원정보를 get 하는 비동기 api 함수를 호출해주었다. 또한 MainLayout에서는 한줄로 선언해주는 것만으로 회원 정보 조회를 할 수 있었다 !!
기존 ProfileEditModal.tsx
모달 창 내에 직접 api 호출 함수를 작성했었다.
  const handleImageUpload = () => {
    if (!selectedImage) {
      alert("이미지를 먼저 선택해주세요");
      return;
    }
    const formData = new FormData();
    formData.append("image", selectedImage);

    callApi("/api/members/me/profile-image", "put", formData, {
      "Content-Type": "text/plain",
      Authorization: `Bearer ${token}`,
    })
      .then(response => {
        console.log(response);
        alert("프로필 사진이 설정되었습니다.");
      })
      .catch(error => {
        console.log(error);
      });
  };

  const handleImageDelete = () => {
    callApi("/api/members/me/profile-image", "delete", { headers })
      .then(() => {
        alert("기본이미지로 설정되었습니다.");
        setSelectedImage(null);
        setPreviewImage(null);
      })
      .catch(error => {
        console.log(error);
      });
  };

  const handleNicknameChange = () => {
    callApi("/api/members/me", "put", { nickname: nickname }, headers)
      .then(() => {
        setErrorMessage(data);
      })
      .catch(error => {
        console.log(error);
      });
  };
리액트 쿼리 적용 후 ProfileEditModal.tsx
const { uploadProfileImage, deleteProfileImage, updateNickname } =
    useProfileMutations();
const handleImageUpload = () => {
if (!selectedImage) {
alert("이미지를 먼저 선택해주세요");
return;
}
const formData = new FormData();
formData.append("image", selectedImage);
uploadProfileImage.mutate(formData); // 변경
};
const handleImageDelete = () => {
deleteProfileImage.mutate(); // 변경
};
const handleNicknameChange = () => {
updateNickname.mutate({ newNickname: nickname }); // 변경
};
useProfileMutations.ts
import { useMutation, useQueryClient } from "@tanstack/react-query";
import client from "../../../config/axios";

const token = localStorage.getItem("accessToken");

export const useProfileMutations = () => {
  const queryClient = useQueryClient();

  const uploadProfileImage = useMutation({
    mutationFn: (formData: FormData) =>
      client.put("/api/members/me/profile-image", formData, {
        headers: {
          "Content-Type": "multipart/form-data",
          Authorization: `Bearer ${token}`,
        },
      }),
    onSuccess: () => {
      console.log("프로필 사진 업로드 성공");
      queryClient.invalidateQueries({ queryKey: ["memberInfo"] });
    },
    onError: error => {
      console.error("프로필 사진 업로드 실패:", error);
    },
  });

  const deleteProfileImage = useMutation({
    mutationFn: () =>
      client.delete("/api/members/me/profile-image", {
        headers: {
          "Content-Type": "multipart/form-data",
          Authorization: `Bearer ${token}`,
        },
      }),
    onSuccess: () => {
      console.log("프로필 사진 삭제 성공");
      queryClient.invalidateQueries({ queryKey: ["memberInfo"] });
    },
    onError: error => {
      console.error("프로필 사진 삭제 실패:", error);
    },
  });

  const updateNickname = useMutation({
    mutationFn: ({ newNickname }: { newNickname: string }) =>
      client.put(
        "/api/members/me",
        { nickname: newNickname },
        {
          headers: {
            Authorization: `Bearer ${token}`,
          },
        },
      ),
    onSuccess: () => {
      console.log("닉네임 변경 성공");
      queryClient.invalidateQueries({ queryKey: ["memberInfo"] });
    },
    onError: error => {
      console.error("닉네임 변경 실패:", error);
    },
  });

  return {
    uploadProfileImage,
    deleteProfileImage,
    updateNickname,
  };
};

export default useProfileMutations;
useMutation을 사용해 옵션으로 onSuccess시 queryClient.invalidateQueries를 실행해 queryKey 의 유효성을 제거해주고 서버로 부터 새 데이터를 조회해 올 수 있도록 코드를 작성했다!!
완성 결과